DIY:How To Repair A Sliding door at Home
Read these 8 steps for how to repair your broken sliding door.

After years of use, you may find that your sliding patio door is no longer working—or looking—the way it’s supposed to. Maybe it often gets stuck, or the screen is sagging hopelessly. The good news is that unless there’s an underlying structural issue, these problems can be addressed without much difficulty. Dirty rollers from debris in the track are the main culprit for uncooperative sliding doors, and wrinkly screens can easily be replaced.
For a quick tune-up of your patio door, follow the steps below. In just a couple of hours, you can have your old door sliding like new.
Step 1: Lower the Door
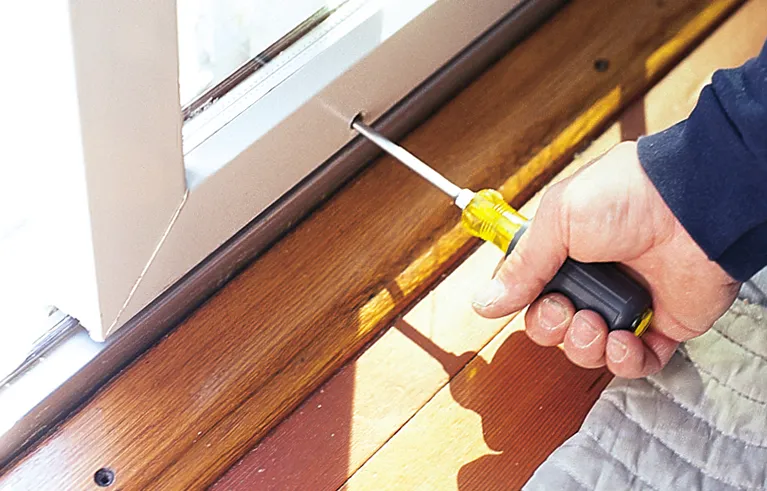
Lay a drop cloth on the floor and pop off the two plugs covering the roller adjustment screws at the bottom of the sliding-door frame. These are sometimes located in the edges of the door.
Insert a flathead screwdriver into each hole and turn the screw counterclockwise all the way. This retracts the rollers, lowering the door.
Step 2: Remove the Head Stop
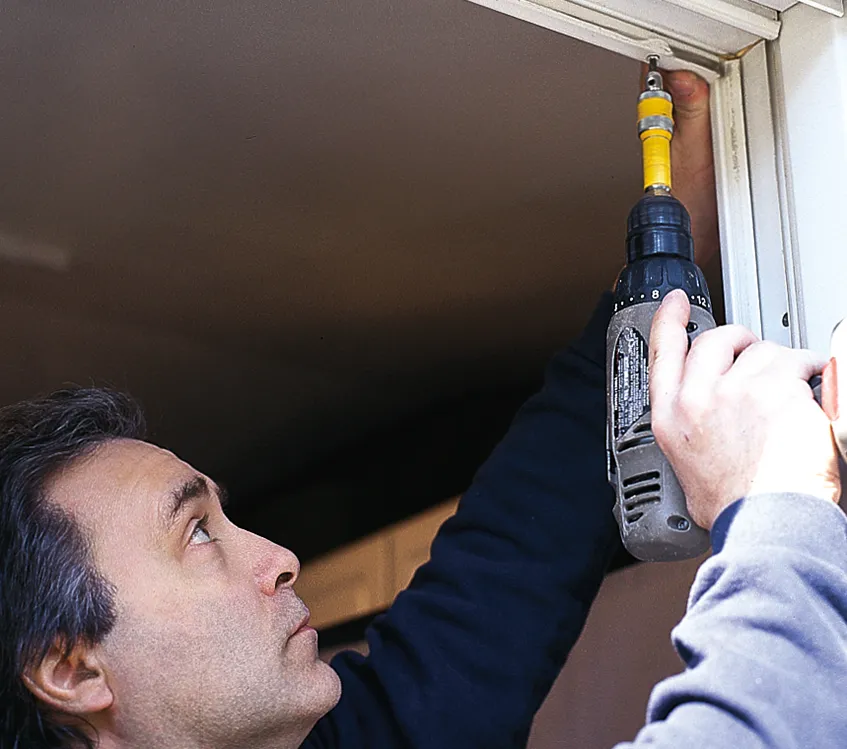
Outside, set up a couple of sawhorses with pads. Take down any removable grilles, shades, or drapes.
Slide the door fully open and remove the head stop by backing out its screws. Do not leave the door unattended after this point; without a stop, it can fall.
Step 3: Remove the Bottom Track

Standing inside, lean the top of the sliding-door panel toward you and lift it off the bottom track. (You may need to recruit a helper for this step, as the door can be heavy and unwieldy.) Set the panel on the sawhorses.
Step 4: Check the Roller Assemblies and Clean the Wheels
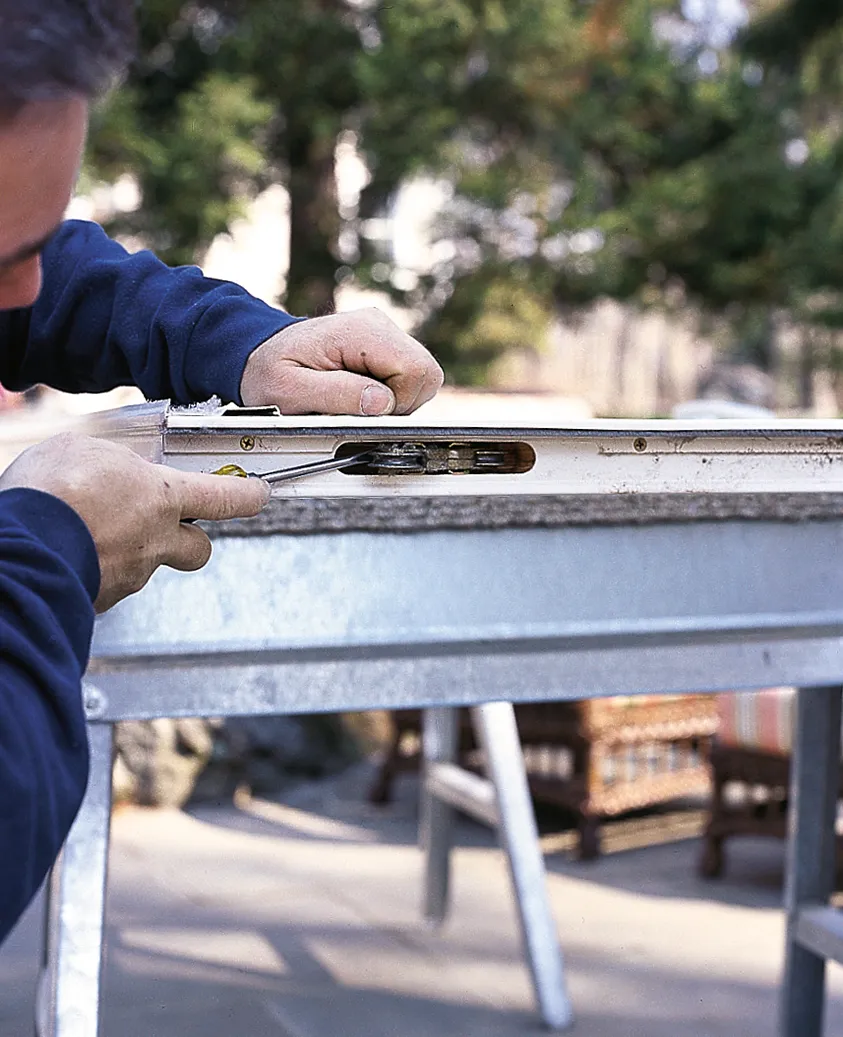
Use a flathead screwdriver to gently pry each roller from its pocket in the bottom of the door. (Rollers are typically held in by friction and the weight of the door.) If they are bent or broken, replace them with new roller assemblies.
Scrape any dirt from the wheels, then clean them with denatured alcohol and a rag. Lubricate the wheels with silicone spray, which doesn’t hold dirt.
Reinstall the rollers by aligning the adjustment screw of each one with its access hole and tapping in the assemblies with a hammer. Use a wood block to protect the wheels. Once the rollers are seated, retract them as far as possible.
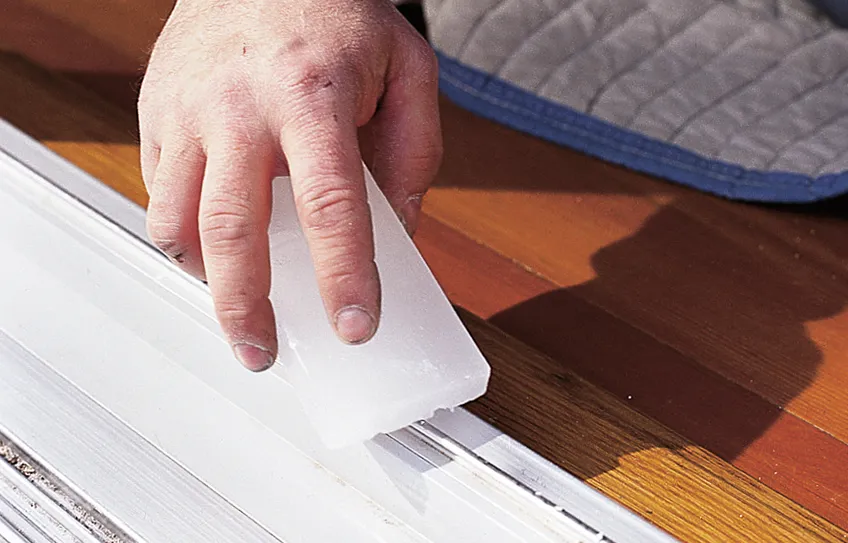
Step 5: Clean and Lubricate the Tracks
Wipe the head track and the outside face of the removed head stop with alcohol, then spray them with silicone.
Vacuum any loose debris from the bottom track, then clean it thoroughly with alcohol. The bottom track needs a more substantial lubricant than silicone; rub it a few times with a block of paraffin wax.
Step 6: Replace Damaged Weatherstripping
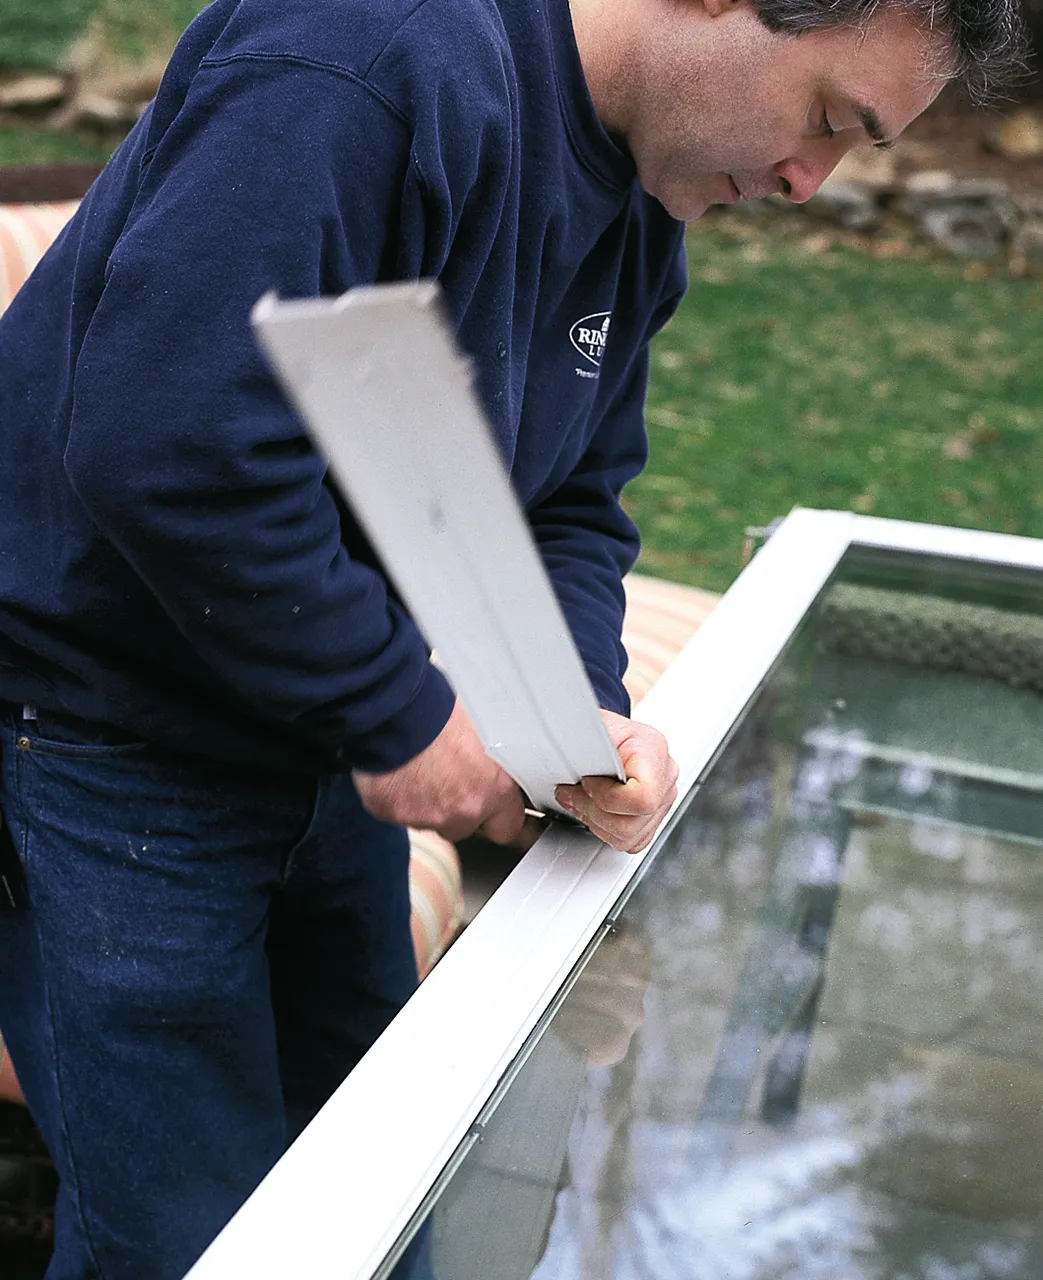
To replace torn or cracked weatherstripping where the sliding and fixed panels overlap, loosen its staples with a flathead screwdriver, then grab one end and pull it and the staples off the door, prying gently with a putty knife.
Remove any remaining staples with pliers. Sink the broken ones with a hammer.
The strip on the jamb side is generally glued on. If it’s damaged, pull it off and scrape the adhesive residue with a putty knife, taking care not to mar the finish.
Where the sliding panel’s frame overlaps the fixed panel, orient the new weatherstripping with its flap facing as indicated on the instructions. Align the top end with the shadow line of the head stop and secure the flange tightly along the door’s edge.
Drill a 1/8-inch-diameter pilot hole at each of the holes in the flange and drive in the provided screws. Do the same on the fixed panel so the two strips interlock.
Glue the jamb-side strip in place with a plastic adhesive. Clean any smudges and fingerprints with alcohol.
Step 7: Repair the Screen
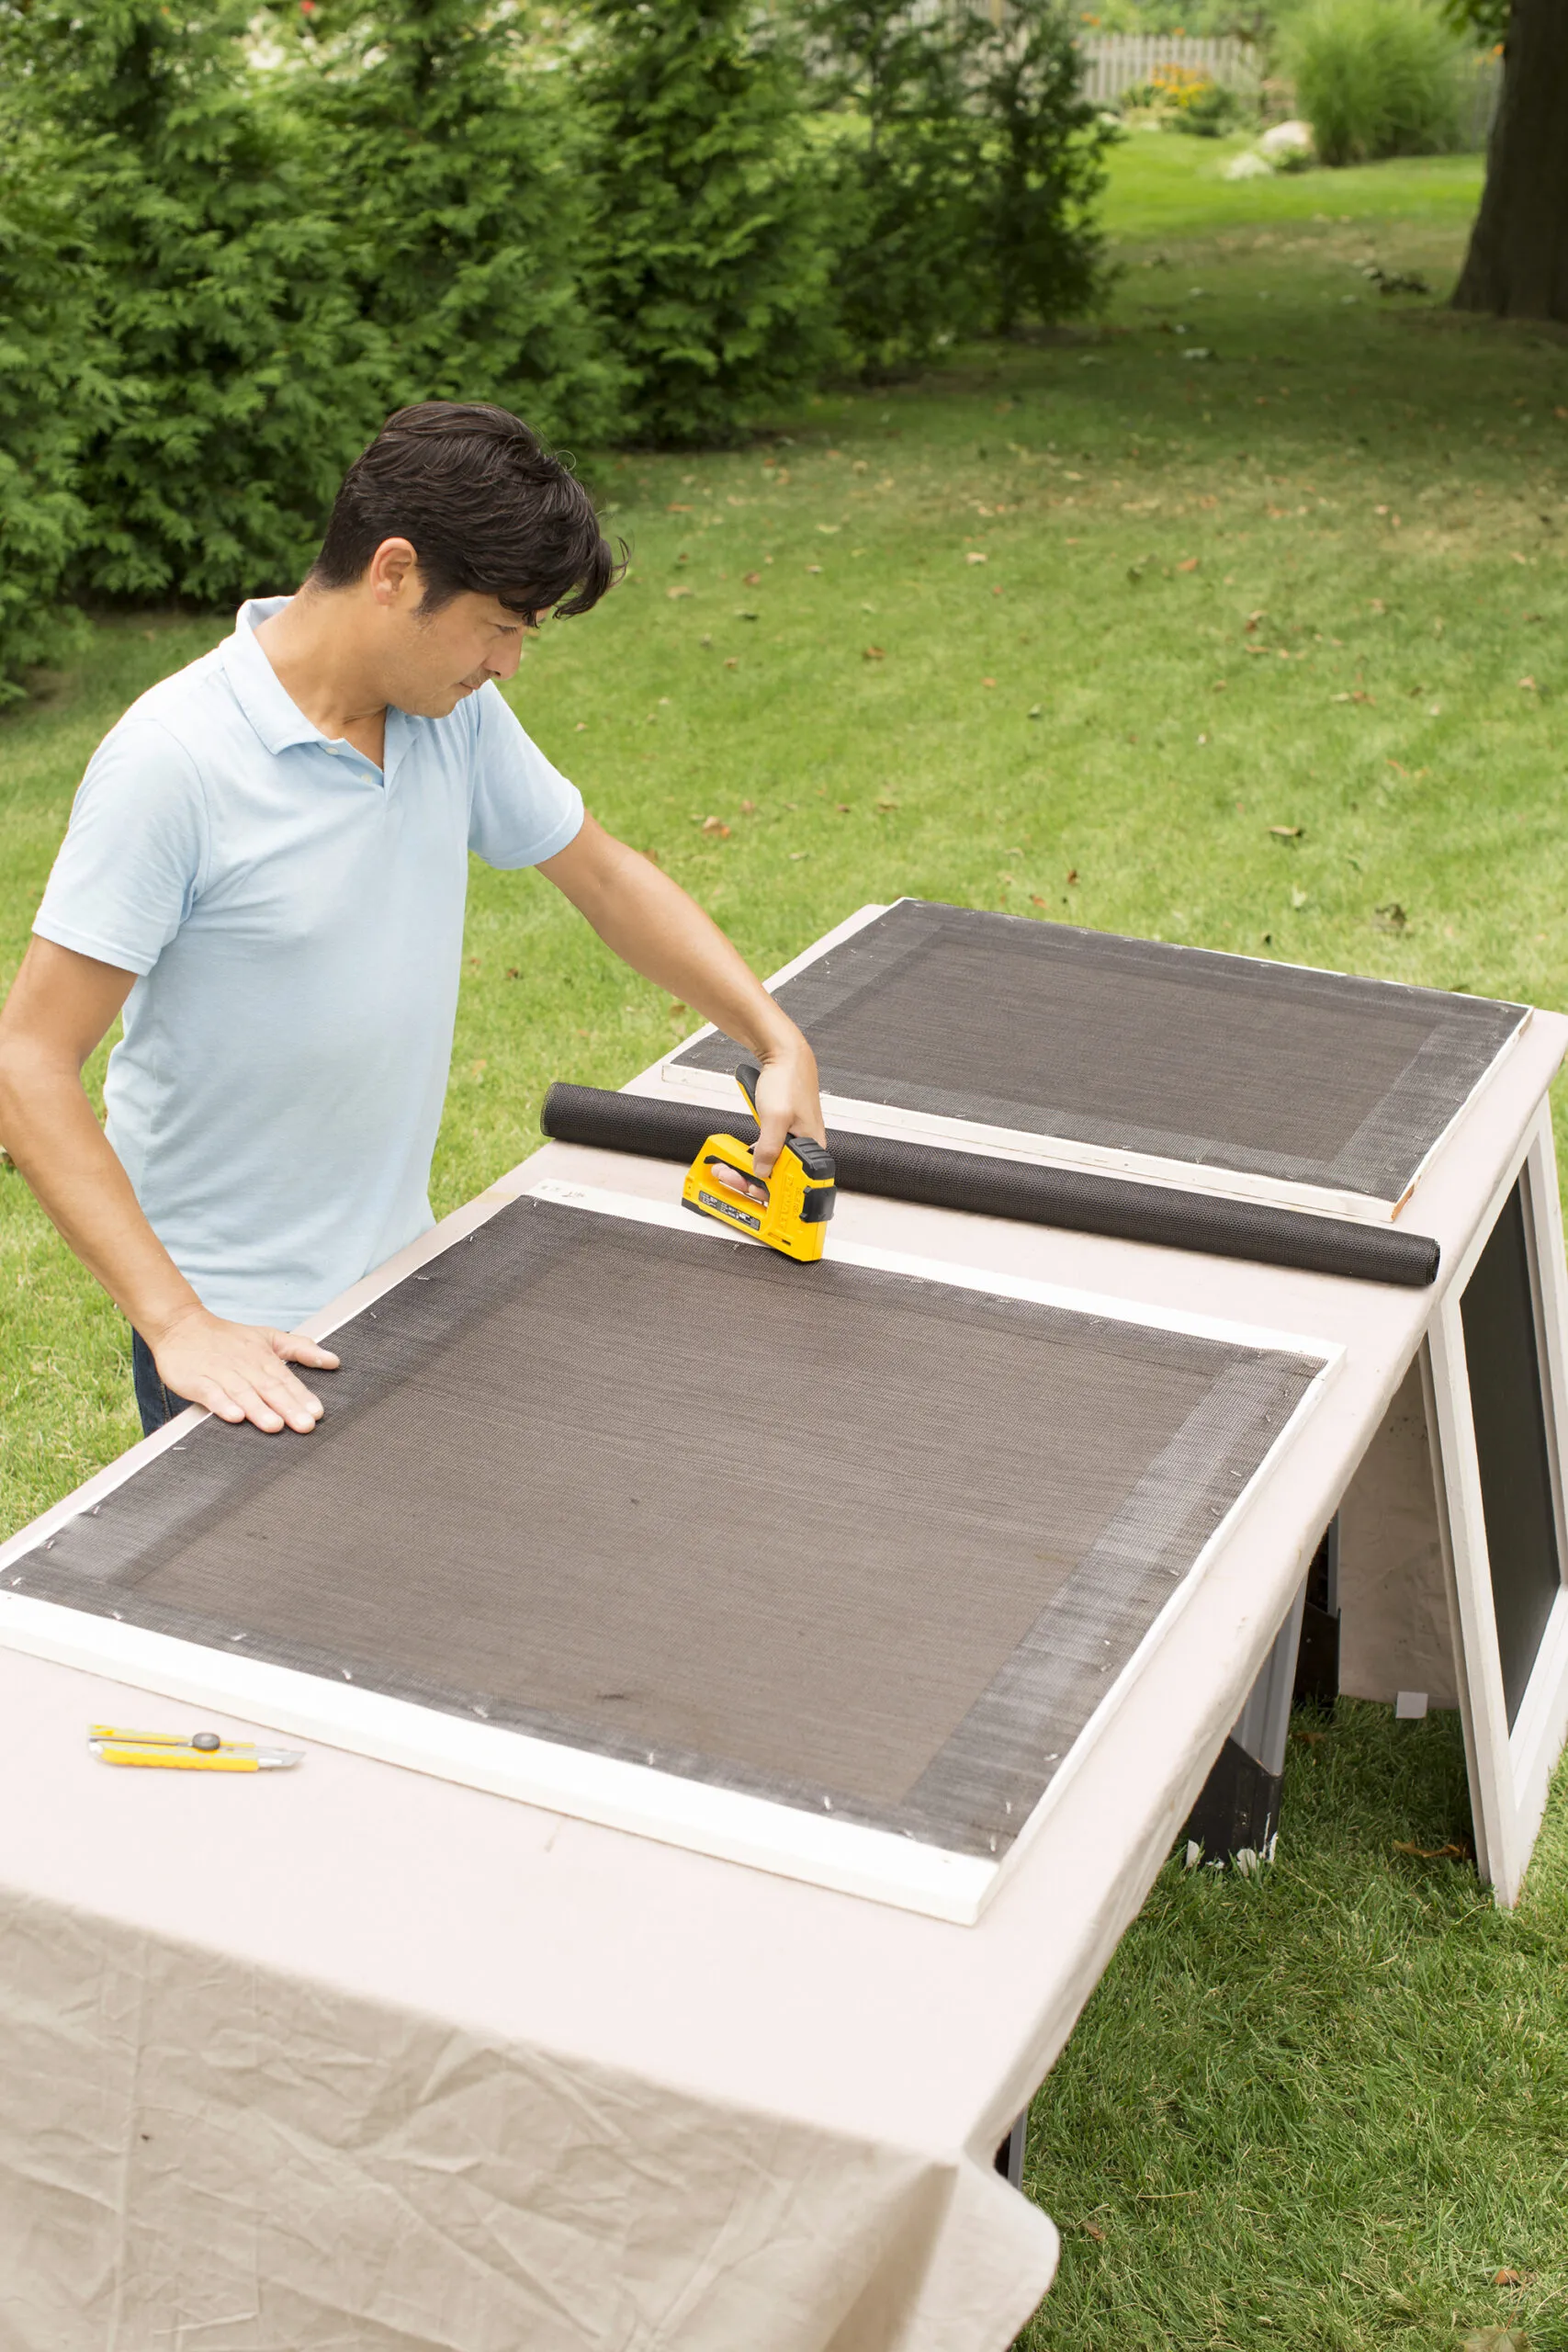
If the screen door is sagging or wrinkled, remove the screen, then lay the door frame on a flat work surface and slip a 1×4 block under each end. Clamp down the middle of the door to put a slight bow in the frame.
Attach a new screen to one end of the frame with staples or a rubber spline. Move to the other end, pull the screen snug and flat—but not too tight—and fasten it. Release the clamps, and the door frame will pull the screen tight as it straightens. Secure the screen sides to the frame.
Step 8: Reinstall the Door

Set the door back on the bottom track and tilt it up. Brace the door with your body and reattach the head stop. (Don’t leave the door unattended until the stop is installed.)
Roll the door to within a half-inch of the latch-side jamb, then turn the roller adjustment screws until the door is parallel to the jamb. If the latch doesn’t mate with its receiver on the jamb, adjust the receiver by loosening its screws and moving the plate up or down.
Tools:
-
 Flathead screwdriver
 -
 Sawhorses
 -
 Hammer
 -
 Wood Block
 -
 Putty knife
 -
 Pliers
What's Your Reaction?